
Mastering the Outdoor "Studio" Lighting
You can't control the sun, but you can control where you stand. Even with the perfect iPhone settings, bad lighting will make a product look "cheap." Use these three Small House rules to find the "Studio Look" in your own backyard or parking lot.
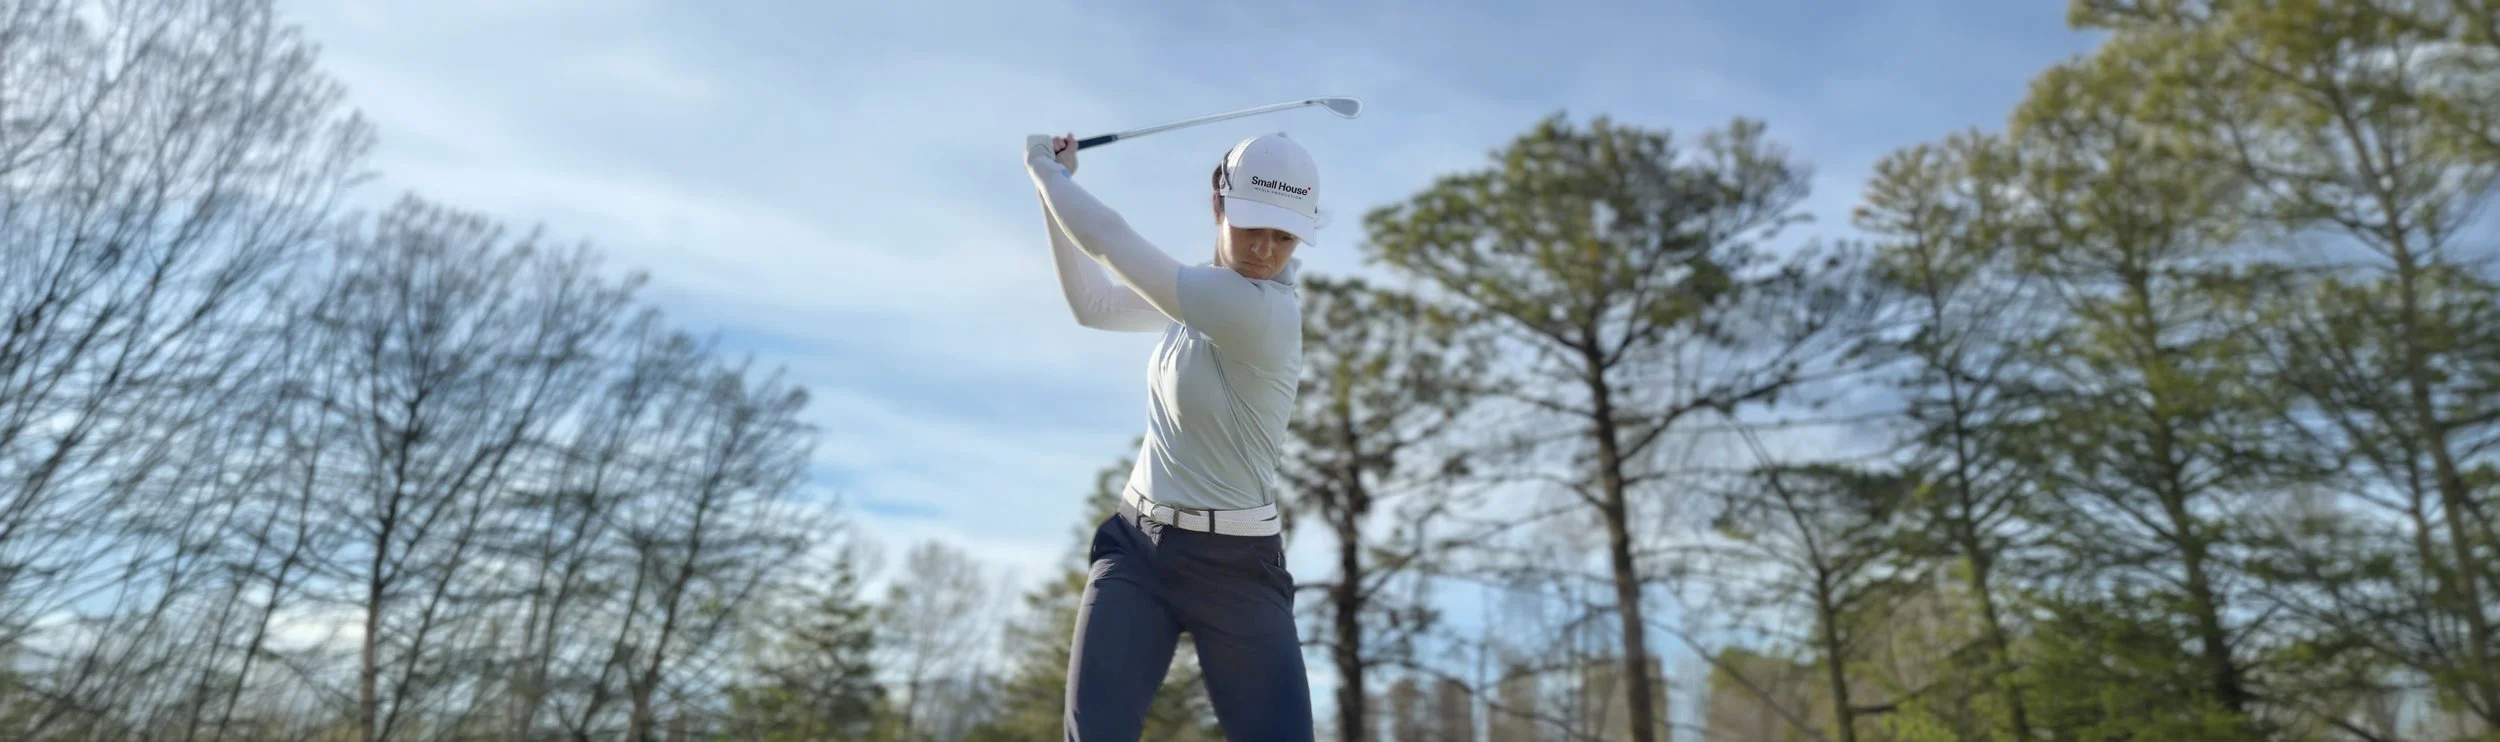
Harness the power of the sun for your photos

1. Seek the "Open Shade"
Direct sunlight creates "hot spots" (blown-out white areas) and "harsh shadows" (pitch black pits). Both are nearly impossible to fix in editing.
The Fix: Move your subject into the shadow of a large building or a porch, but keep it close to the edge of the shadow.
The Result: You get soft, even "wrap-around" light that makes colors look saturated and high-end without the squinting or the glare.
2. The "Cloudy Day" Advantage
Most people wait for a sunny day to take photos. Professionals wait for clouds.
The Secret: A cloudy sky is just a giant, natural softbox. It diffuses the light perfectly, removing reflections from glass or car paint.
The Result: This is the best time to capture "true-to-life" colors for your brand. If it's overcast, drop everything and go take your product shots!
3. Mind the "Reflection Check"
If your product is shiny (cars, glass, metal, or even plastic), it acts like a mirror.
The Fix: Before you snap the photo, look at the surface of the product. Can you see your own reflection? Can you see a bright orange orange cone or a trash can reflected in the side?
The Pro Move: Shift the product 45 degrees. Usually, a small turn will "bounce" the ugly reflection away and replace it with clean sky or a solid wall.

A final note from Small house media
Make sure that when you are positioning the sun in your shot, that you are paying attention to these details in order to get the best photos possible.